YouTube App with extended functionalities
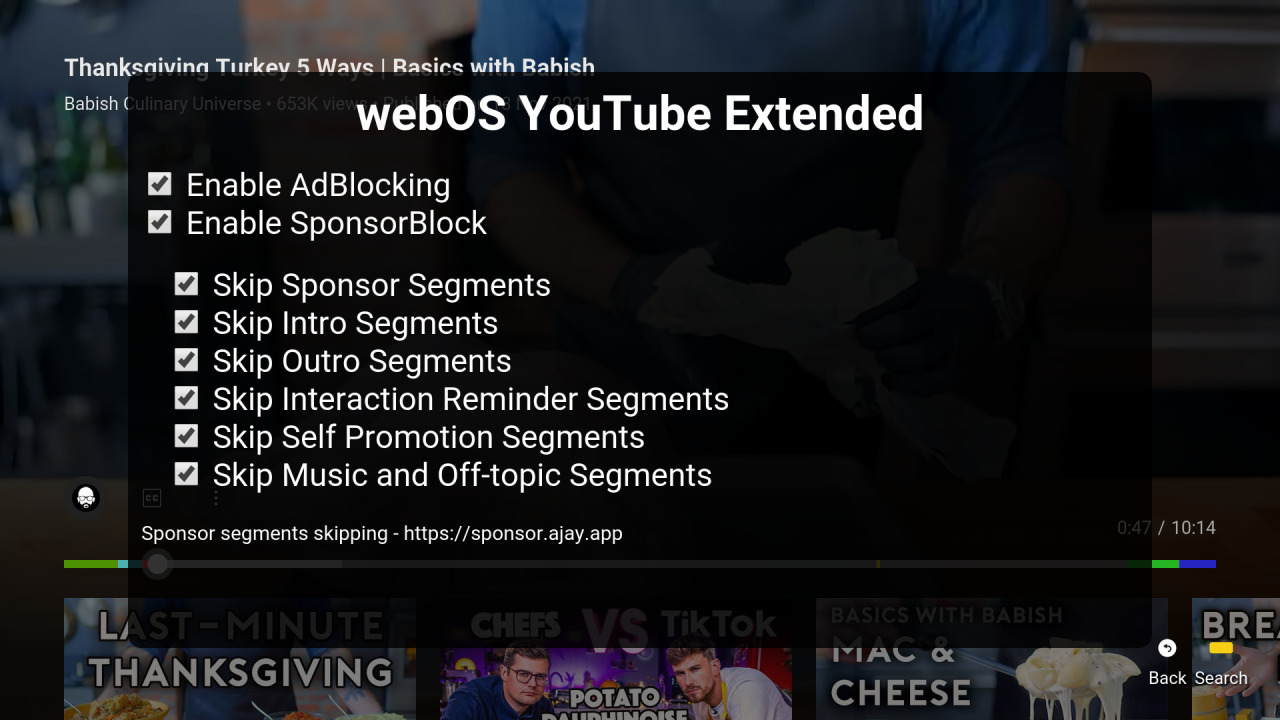
- Advertisements blocking
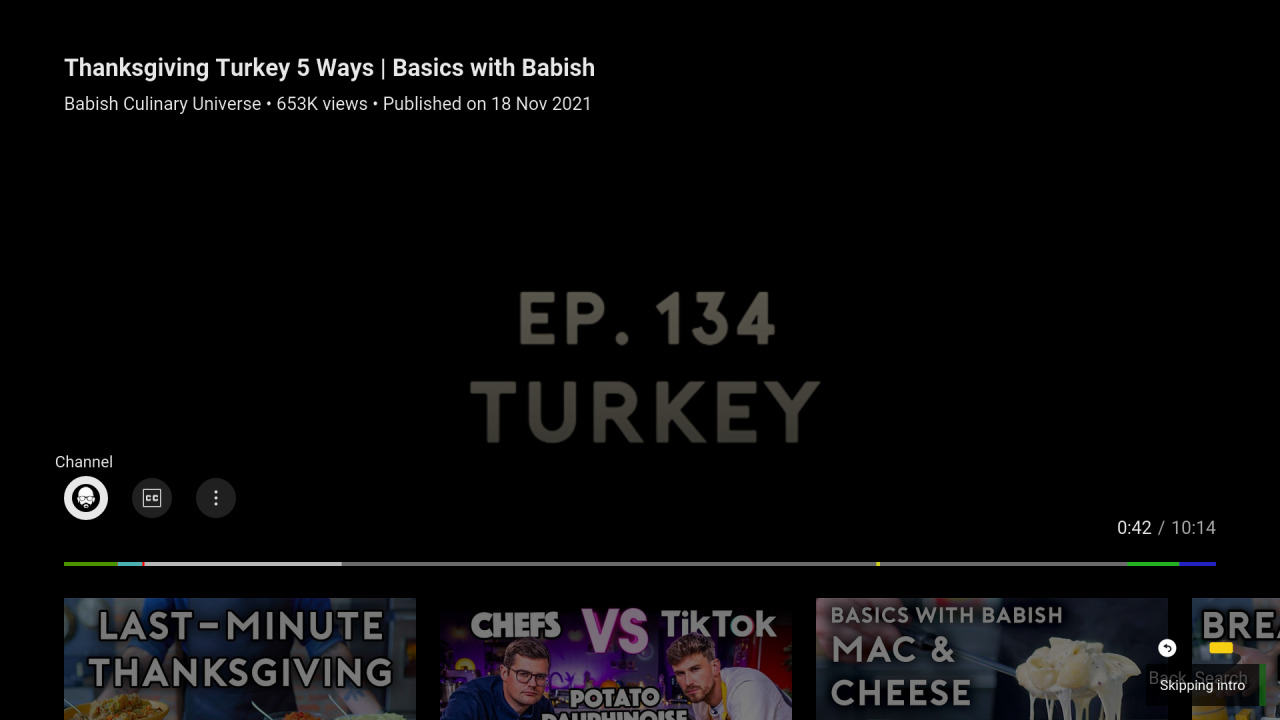
- SponsorBlock integration
- Autostart
Note: Configuration screen can be opened by pressing 🟩 GREEN button on the remote.
- Official YouTube app needs to be uninstalled before installation.
- Use webOS Homebrew Channel - app is published in official webosbrew repo
- Use Device Manager app - see Releases for a
prebuilt
.ipkbinary file - Use webOS TV CLI tools -
ares-install youtube...ipk(for webOS CLI tools configuration see below)
Configuration screen can be opened by pressing 🟩 GREEN button on the remote.
In order to autostart an application the following command needs to be executed via SSH or Telnet:
luna-send-pub -n 1 'luna://com.webos.service.eim/addDevice' '{"appId":"youtube.leanback.v4","pigImage":"","mvpdIcon":""}'This will make "YouTube AdFree" display as an eligible input application (next to HDMI/Live TV, etc...), and, if it was the last selected input, it will be automatically launched when turning on the TV.
This will also greatly increase startup performance, since it will be runnning constantly in the background, at the cost of increased idle memory usage. (so far, relatively unnoticable in normal usage)
In order to disable autostart run this:
luna-send-pub -n 1 'luna://com.webos.service.eim/deleteDevice' '{"appId":"youtube.leanback.v4"}'- Clone the repository
git clone https://github.com/webosbrew/youtube-webos.git- Enter the folder and build the App, this will generate a
*.ipkfile.
cd youtube-webos

# Install dependencies (need to do this only when updating local repository / package.json is changed)
npm install

npm run build && npm run packageThis is partially based on: https://webostv.developer.lge.com/develop/getting-started/developer-mode-app
- Install Developer Mode app from Content Store
- Enable developer mode, enable keyserver
- Download TV's private key:
http://TV_IP:9991/webos_rsa - Configure the device using
ares-setup-device(-amay need to be replaced with-mif device namedwebosis already configured)PASSPHRASEis the 6-character passphrase printed on screen in developer mode app
ares-setup-device -a webos -i "username=prisoner" -i "privatekey=/path/to/downloaded/webos_rsa" -i "passphrase=PASSPHRASE" -i "host=TV_IP" -i "port=9922"- Enable sshd in Homebrew Channel app
- Generate ssh key on developer machine (
ssh-keygen) - Copy the public key (
id_rsa.pub) to/home/root/.ssh/authorized_keyson TV - Configure the device using
ares-setup-device(-amay need to be replaced with-mif device namedwebosis already configured)
ares-setup-device -a webos -i "username=root" -i "privatekey=/path/to/id_rsa" -i "passphrase=SSH_KEY_PASSPHRASE" -i "host=TV_IP" -i "port=22"npm run deploy
- The app will be available in the TV's app list or launch it using ares-cli.
npm run launchTo jump immediately into some specific video use:
npm run launch -- -p '{"contentTarget":"v=F8PGWLvn1mQ"}'